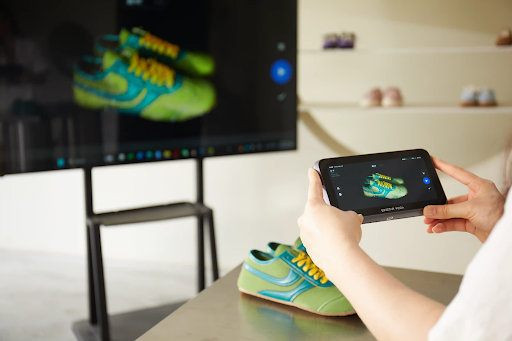
A successful 3D scan is not simply a matter of pointing a device at an object and collecting data. The quality of the final model depends on several decisions made before, during, and after the scanning session. Lighting, surface characteristics, movement, scanning distance, and preparation can all influence how accurately an object is reproduced digitally.
This is particularly important for hobbyists, designers, repair specialists, and small businesses that want to create useful 3D models without wasting time repeating the same task. Understanding how a 3d scanner scan works in real conditions can help users achieve better results, even when working with a limited budget.
Preparation Makes a Bigger Difference Than Many Beginners Expect
Before scanning, take a moment to examine the object. Look for areas that may be difficult to capture, such as narrow gaps, deep openings, reflective sections, or complicated edges. These features can create problems if the scanner cannot collect enough information from the available angles. Clean the object if dust, fingerprints, or loose material could interfere with its surface details. For small items, place the object on a stable surface where it can be reached from several directions. Larger objects may require a clear working area so you can move around them without obstacles.
It is also useful to decide how the object will be scanned. A simple shape may need only a few passes, while an item with complex geometry could require several overlapping views. Planning this process reduces unnecessary movement and makes it easier to identify missing areas later.
The Surface of an Object Can Change the Scanning Process
Not every physical object behaves the same way during digital capture. Matte, textured surfaces are often easier to scan because they provide visible details that help scanning software track the object’s shape. Reflective materials can be more challenging. Polished metal, glossy plastic, and glass may produce inconsistent readings depending on the scanning technology. Dark surfaces can also present difficulties for some devices because they may return less useful surface information.
These challenges do not always mean the object cannot be scanned. They simply require a little more attention. Adjusting the scanning angle, improving the surrounding conditions, or following the manufacturer’s recommended surface preparation method may help. A useful habit is to test a small section before attempting to capture the entire object. This gives you an early indication of whether the surface is being recorded properly.
Consistent Movement Helps Build a More Complete Model
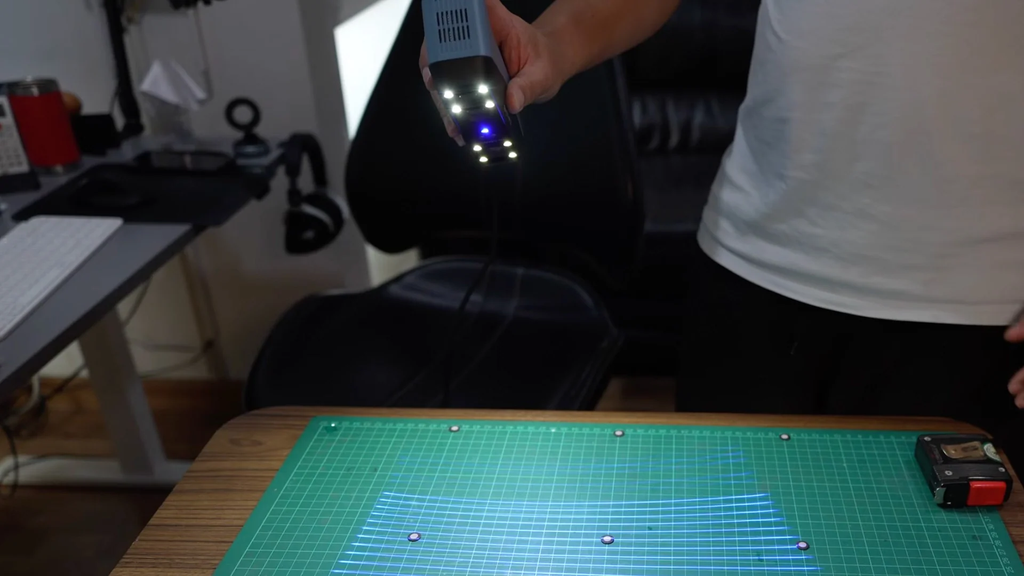
One common beginner mistake is moving the scanner too quickly. When the device travels unevenly, it may lose tracking or fail to collect enough overlapping information. The resulting model can contain gaps, distorted sections, or incomplete geometry. Instead, move at a steady pace and follow the scanning guidance provided by the software. Try to maintain a suitable distance from the object rather than constantly moving closer and farther away. If the scanner indicates that tracking has been interrupted, pause and reposition it instead of continuing randomly.
A complete capture usually requires viewing the object from different directions. Pay particular attention to the underside, recessed areas, and sections hidden behind other features. Depending on the object’s size, rotating it between passes may be easier than trying to reach every angle by hand. Some modern devices, including scanners from EINSTAR, are designed to support different scanning situations. However, the operator’s technique remains an important part of producing a dependable result.
Why a Budget-Friendly Scanner Still Needs Careful Evaluation
Searching for a cheap 3d scanner is understandable, especially when scanning is a hobby or an occasional part of a project. Not everyone needs professional equipment with advanced specifications. However, choosing a device based only on its price can lead to disappointment. Consider the objects you expect to scan most often. A scanner intended for small mechanical components may not be suitable for large furniture or full-body capture. Similarly, a device that performs well on textured objects may require additional preparation for reflective materials.
Software is another important consideration. Check whether the scanner includes tools for alignment, editing, exporting, and repairing incomplete models. A low purchase price may not represent good value if essential features require additional spending or the workflow becomes unnecessarily complicated. It is also worth considering the learning curve. Clear instructions, useful tutorials, and straightforward software can save beginners considerable time. A slightly more expensive device may offer better long-term value if it makes regular scanning easier.
Turning Raw Capture Data Into Something Useful
A scan is not always ready for printing or design work immediately after capture. The initial result may contain unwanted background geometry, small holes, overlapping sections, or areas that need alignment. Post-processing helps turn collected data into a more usable model. Depending on the intended application, you may need to remove unnecessary points, combine multiple scans, repair holes, or simplify the geometry.
The next step depends on the purpose of the project. Someone documenting an object may only need a visual model. A designer preparing a replacement component may need additional CAD work to create accurate dimensions and editable features. A model intended for 3D printing may also require checks for mesh integrity and suitable geometry. Keeping the original scan file is a sensible precaution. If later editing introduces problems, the original capture provides a starting point for making corrections.
A More Reliable Scanning Routine
Better results often come from developing a repeatable process rather than changing equipment every time something goes wrong. Even when using a cheap 3d scanner, start with a clean object and a suitable workspace. Test the surface, maintain steady movement, and capture difficult sections from additional angles. After scanning, review the model before moving to the next stage. Look for missing details and obvious distortions while the object is still available. Correcting a problem immediately is usually easier than discovering it after the model has entered a larger design or production workflow.
Conclusion
Good 3D scanning depends on more than the specifications of the device. Preparation, surface conditions, scanning technique, and post-processing all influence the quality of the final result. Even users with modest equipment can improve their outcomes by developing consistent habits and understanding the limitations of the objects they capture. Rather than focusing exclusively on price or technical claims, choose equipment that suits your projects and learn how to use it effectively. With a thoughtful workflow, scanning can become a practical and repeatable part of design, repair, documentation, and 3D printing.
Frequently Asked Questions
What affects the quality of a 3D scanner scan?
Surface characteristics, scanning distance, movement, lighting conditions, tracking performance, and the number of captured angles can all affect the final model.
Can beginners use a cheap 3D scanner?
Yes. Budget-friendly devices can be suitable for learning and simple projects, provided their capabilities match the size, material, and level of detail required.
Why does a scanner sometimes miss parts of an object?
Deep openings, hidden surfaces, reflective materials, and insufficient overlap between scanning passes can cause missing data. Capturing additional angles may help.
Does every 3D scan need editing?
Not necessarily. Simple captures may need very little adjustment, while models intended for printing, engineering, or CAD work often require cleaning and further processing.
Can a 3D scan be used directly for 3D printing?
Sometimes, the mesh should first be checked for holes, unwanted geometry, and other issues that could affect printing. Additional editing may be necessary.
Read more: https://bestpickuplins.com/seedance-2-5-ai-video-generator-transform-your-digital-content-creation/
https://bestpickuplins.com/how-do-you-keep-food-fresh-during-a-hurricane/
https://bestpickuplins.com/how-to-buy-xrp-xrp-with-us-dollars-usd/